

Writing a check may seem outdated in the digital age, but it’s still a crucial financial skill. Whether you’re paying rent, making a donation, or gifting money, knowing how to correctly fill out a check ensures your payment is processed without issues. Here’s a simple, step-by-step breakdown:
- Date the Check:
Start by writing the current date in the upper-right corner. This helps track when the check was issued. - Payee Name:
On the “Pay to the Order of” line, write the full name of the person or business receiving the payment. - Payment Amount in Numbers:
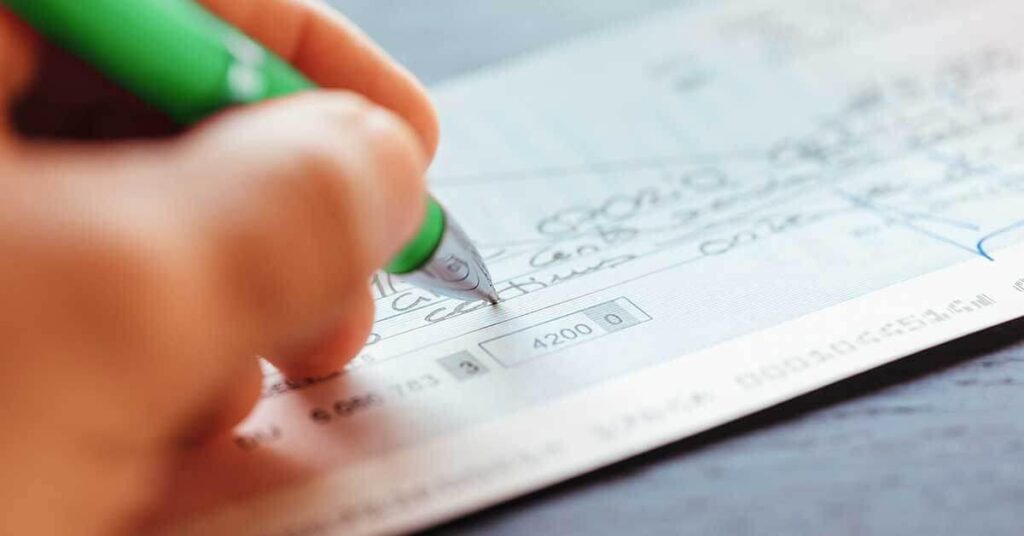
Write the exact amount in numerical form in the small box on the right-hand side. For example: 125.50. - Payment Amount in Words:
On the line below the payee name, write out the dollar amount in words. For example: “One hundred twenty-five and 50/100.” This acts as a backup in case the numbers are unclear. - Memo Line (Optional):
Use the memo line at the bottom left to note the reason for the check or an account number, especially helpful for bill payments. - Signature:
Sign your name on the line in the bottom right corner to validate the check. Without a signature, it can’t be cashed or deposited.
Tips for Security and Accuracy:
- Always use a pen to prevent alterations.
- Don’t leave blank spaces.
- Keep a record in your check register or banking app to track your balance.
Mastering these steps helps prevent fraud and ensures your check is properly processed.
Writing a check involves entering the date, payee name, numerical and written amount, an optional memo, and your signature. This step-by-step method ensures accurate and secure transactions. Although checks are less common today, understanding how to fill one out correctly is still a valuable financial skill.
personal finance, check writing, banking basics
